How to Prepare Students to Move Into the Colorful World of the Clarion Register
by Dr. Rose Sperrazza
Date Posted: September 22, 2016
Remember that miraculous moment in The Wizard of Oz when Dorothy opens the door and steps into the Land of Oz? She leaves behind her dreary, colorless world and steps into the vibrant, technicolor Land of Oz. It’s pure magic. It is also what it should feel like to cross the break for the first time. Something magical happens when a student depresses the register key and discovers a myriad of new colors and sounds available for the taking. It’s our job and delight as teachers to create that wonderful experience, rather than the all too often scenario of uncontrolled squeaks and squawks that cause the family dog to run for cover.
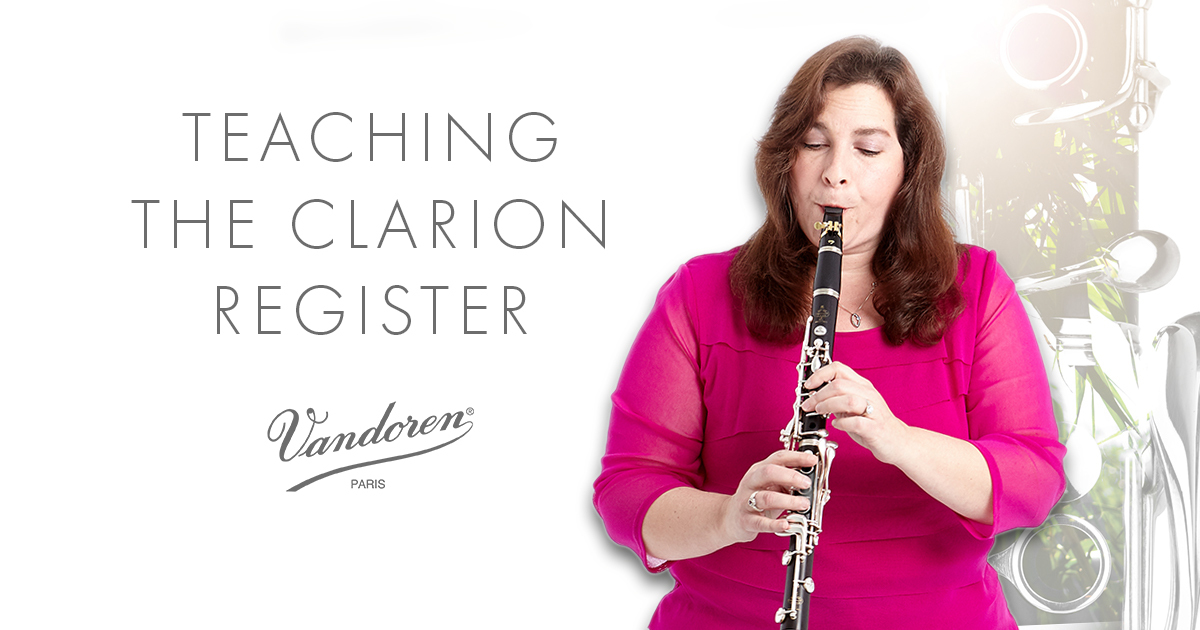
Clarinet Clarion Register
So how do we do it? Rather simply. We take the time and have the patience to ensure developing students receive a solid foundation on which to build.
Meticulous hand/finger position, an unwavering embouchure, and a centered, strong sound are vital underpinnings. If these things are firmly in place, the battle of the break is already won. It’s getting those things in place that challenges our skills as teachers.
Because there are many exercises and articles relating to the pedagogy of teaching fundamentals, I won’t recreate them here. Instead I will share my approach for preparing students to move easily into the colorful world of the clarion register. What follows is a sequence of key elements leading to a successful transition. I will also share two of my very favorite exercises specifically targeted for mastering the break.
Preparing Your Students
Start with the mouthpiece
In general I use a top down approach beginning with the mouthpiece. I work almost exclusively with the mouthpiece and barrel until a student can consistently produce a concert F# with a centered and stable sound.
Assemble the clarinet
Once this occurs, I ask the student to assemble the clarinet and hold it by gripping the barrel with the right hand. By delaying the introduction of right-hand position, the student is free to fully focus on mastering left-hand and finger technique. It is very important to constantly check and correct faulty technique as soon as it appears.
Gradually add hands
I introduce the right hand when students are able to play smoothly from open G to the C a fifth below. I make sure they cover the holes and keep their fingers poised as near the tone holes as possible. Check and correct constantly.
Introduce the chromatic scale
I introduce the chromatic scale when students can comfortably play from open G to low E with meticulous hand and finger position as well as a centered and controlled tone. By moving very slowly and making sure the student is anchoring the pinkies, he/she then begins to master chromatic fragments consisting of 3 or 4 notes.
Start the concept of the clarion register
When the student has mastered a chromatic scale from low E to throat Bb he/she is ready to enter the clarion register. It’s important to realize that the sequence outlined here will not take each student the same amount of time to master. Some can achieve a beautifully connected chromatic scale in weeks while others need months. That’s ok. Remember that mastery is the goal and it trumps everything else.
Students sometimes complain that they want to move faster but keep in mind it is a teacher’s responsibility to set the goals and the student’s responsibility to achieve them.
"...teach in technicolor rather than black and white." - Dr. Rose Sperrazza
Introducing the Clarion Register
Finally it’s time to introduce the clarion register! I have had the most success having a student sustain a low E while I depress the register key. Nine out of ten times a beautiful third line B sails out.
Voila!
The student is now producing a centered controlled sound in the clarion register.
Since the student has already mastered the chromatic scale via the chalumeau register, often he/she can get most of the clarion register to speak within minutes.
At this point, I focus on the actual transition between the registers. My favorite exercise is having the student sustain a third-line B (first tone in the clarion register) while simultaneously opening and closing the throat A mechanism. This produces a fun and eerie effect loved by all students.
From there I simply have them repeat the exercise with the fingers slightly lifted to produce a true throat A. Now the student is crossing back and forth over the break while keeping his/her fingers hovering close to the instrument.
Setting Goals
I have found the above sequence to work very well but it does require a certain amount of persistence from a teacher. Staying true to your goals for a student is the most difficult aspect of teaching because it demands good old-fashioned dedication and patience from both student and teacher.
It can be especially difficult with younger students but the payoff is enormous: Students do not develop the bad habits that typically prevent an easy transition into the clarion register. The lesson will be more enjoyable for a student if a teacher successfully strikes a balance between skill building and music-making.
I always try to include relevant exercises, short melodies, and duets during each lesson. I have found Randall Cunningham’s "21 Chalumeau Studies" to be the best and most interesting method book to use during this early phase of skill-building. It gives students an opportunity to apply their developing technique to tuneful and challenging melodies composed exclusively in the chalumeau register.
Last Things to Remember
Lastly, remember that your attitude in a lesson is equally as important as the information you are sharing. Students will respond in kind to your level of engagement, enthusiasm, and love of teaching so do your very best to teach in technicolor rather than black and white.