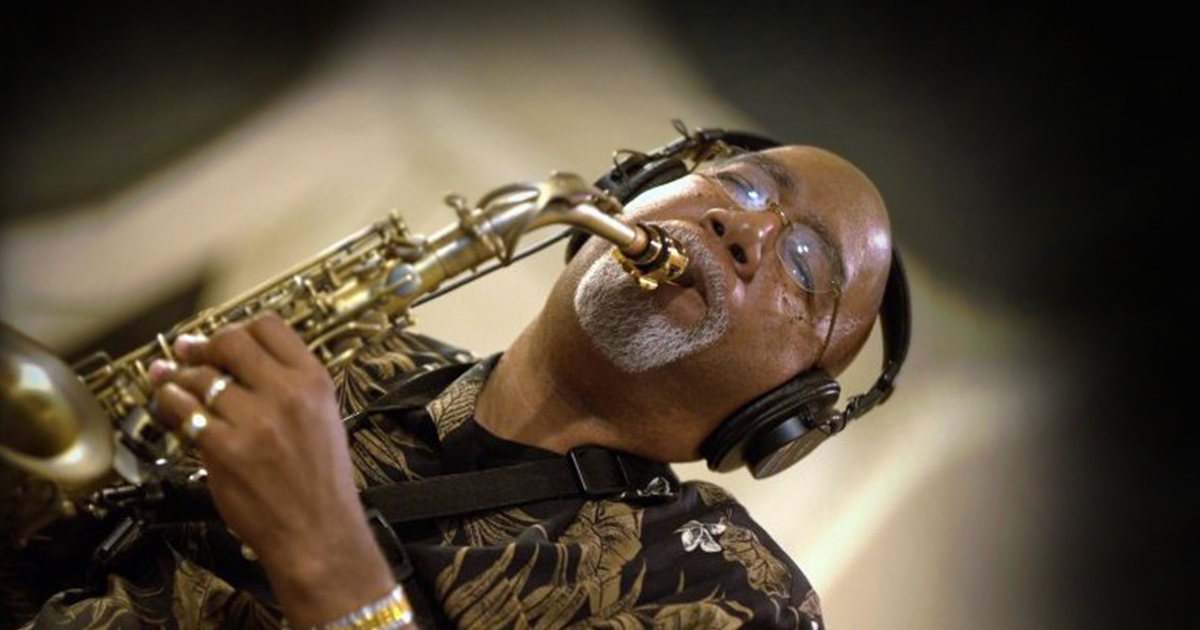
Recording Tips for Small Room Recording
by Ronald E. Kearns
Date Posted: January 25, 2018
Helping Music Educators Record in Small Rooms
Recording in rehearsal rooms or small spaces is not that different from recording in an auditorium or large space. In both cases, you want to capture as much sound from the sound source as possible. Music educators are often wanting to record rehearsals and performances, so knowing how to record in small and large spaces is important. This article is designed to assist music educators in making wise choices and decisions.
The first thing music educators must do is test the acoustics of the recording space. This is a relatively simple task called finding the “sweet spot.”
Test the Acoustics
The “sweet spot” is the area of the room that yields the purest sound.
Too much echo (natural reverberation) will give a distorted sound and not enough echo will create a “flat” sound.
How To Find the "Sweet Spot"
Like Goldilocks and the Three Bears the sound has to be just right. Finding this sound center is as easy as walking around the room clapping your hands. As you listen to the echo your ears should hear the sound center, not too much from the right or left. Once you find the sound center you've found the sweet spot for mic placement.
Mic Placement and Proximity
Now you are ready to decide on the best place to put the mics and how close to put them in relation to the sound source. This will help you to decide on the kinds of mics you need to use and how close to the sound source those mics will need to be.
The difference between recording in a large room and a small room is the size of the space. Obviously, the smaller the space, the less room you have for your setup. If you can’t move the mics out, away from the group, the best step is to move the mics up above the group. This is where using 15-foot mic stands is practical. In most cases, using two mics in an X/Y stereo pattern will work. For this setup, you’ll need a matching pair of mics.
Microphones Explained
There are three basic mic types: Omnidirectional (Omni), Figure 8 (Bidirectional) and Cardioid (directional). Each one of these types is used to collect the most sound possible. A description of each of these mic types will help you to determine which mic is best for you. Your school budget may not allow you to have different mics for recording in small spaces and large spaces so it will be important to understand how each mic type works to decide on which mics to purchase. If more mics are needed, you’ll need to make sure cables are secured to the floor to avoid students tripping over them or disconnecting them accidentally.
Omnidirectional Pattern Microphones
Omnidirectional pattern mics record sounds coming from all directions. Imagine there is a circle of sound and you want to collect all sounds equally. For small spaces this may mean hanging a mic overhead or putting one behind the conductor. Depending on the size of the sound source, you may or may not need to use an Omni mic.
Stero Microphons and How to Position Them
A well placed stereo pair can collect the desired sounds if placed properly. Placing a pair of mics seven (7) inches apart or as far as five (5) feet apart on fifteen-foot stands or a close set X/Y pair (Blumlein pair M/S) can get you similar results as an Omni mic. Place the pair as far behind the conductor’s podium as you can. Adjust the angle of the mics in the direction that covers the widest range. A stereo image can't develop until you’re at least 6 feet from the sound source. If possible, you should be at least 10 feet from the sound source before using the X-Y stereo miking approach (difficult to achieve in most rehearsal rooms but not impossible).
Cardiod Microphones
Using the stereo pair five feet apart, fifteen feet high can yield a good recording with a Cardioid or Supercardioid pair (a little more focused Cardioid polar pattern). It’s important to note that the best stereo images are achieved by having the mics as close together as possible (crossing the mics to form an X, close together in parallel position, having them face one another to form a Y or using a mid mic with a bi-directional mic). There are brackets for these patterns that are attached at the top of the stand.
Consult a Sound Professional
If you're not sure how to use the placements or mics mentioned, contact a sound professional and let them talk you through each step of the process. Previous Shure blog entries can also be very helpful so check them first.
About the Author
Ronald E. Kearns is the author of the book Recording Tips for Music Educators, Oxford University Press and author of Quick Reference for Band Directors, RLE Publishing.