Reed Care Basics: Stay Healthy and Sound Your Best - The Article
by Michael Fenoglio
Date Posted: December 02, 2023
Cane reeds are a 100% natural product. Each comes with its own quirks and personality courtesy of Mother Nature. But as most pros will tell you, nothing beats the sound of a great cane reed. So the question is: how do you make them all great?
To get the most out of each reed and every box, it is important to exercise some basic reed care and hygiene practices. This article outlines a very basic reed care routine that is easy to follow for even the youngest of students. By taking these steps, you’ll notice your reeds performing better and lasting longer while you stay healthy in the process.
It all starts with a new box of reeds.
If video is more your style, check out our video below. Similar content with some additional insights.
PART ONE: THE BREAK-IN PROCESS
A good break-in process helps reeds adjust to their new environment and gradually get used to making music. After all, it’s a plant remember?! It’s never been asked to do this before! It needs to be treated gently out of the box and given time to recover. Here’s what to do:
- Open your new box and carefully remove a few reeds from the FlowPack or packaging.
- Moisten reed with saliva or water. Do not over soak – 5-10 seconds is plenty.
- Play each reed for a few minutes, remove, wipe off saliva and store in quality reed case until tomorrow.
- Over the course of a week, play the reed progressively longer each day.
- By the week’s end, your reed should be responding crisply and sounding full.
***Reeds that are hard to begin with might take a little more time to break in.
PART TWO: THE REED ROTATION
A rotation is a key component of basic reed care and hygiene. The basic goal is to play a different reed each day or playing session. An effective rotation ensures the maximum lifespan and performance of that reed while also minimizing the gunk and germ buildup that results from poor reed care. It will also ensure your embouchure stays in tip-top shape along the way. Long story short, EVERYONE should be rotating their reeds. Even beginners. Here’s a simple way to get started:
- Start by breaking in 2-4 reeds according to the procedures in Part One.
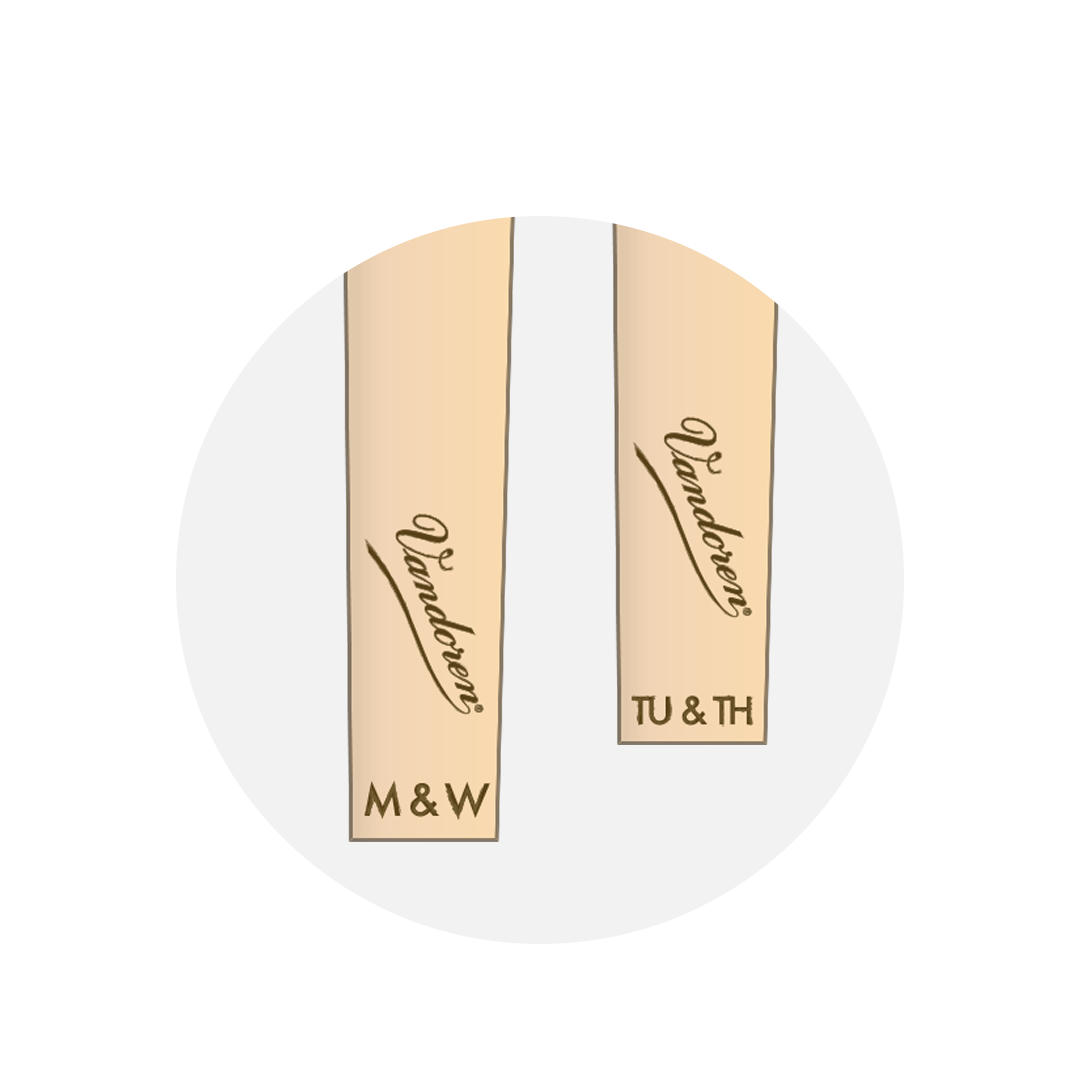
- Label your reeds in a way that allows you to identify which reed you just played, and which reed is next in line. This can be done in a variety of ways (numbers, letters, shapes, colors, etc). Here is one method that I’ve seen work well for beginning students. It uses two reeds - each marked with the day to be played.
- Be sure to wipe off your reeds after playing and store them in a quality case between sessions. Inspect daily for damage or filth and discard damaged or gross looking reeds immediately regardless of their age.
- At the beginning of each month, “refresh” your rotation by replacing your old reeds with fresh, broken-in reeds. I call this the “refresh” step. This is the key to a successful and hygienic reed rotation. Don't skip the break in process!
- Once you get the hang of it, expand your rotation! More advanced players tend to have between 4-8 reeds in rotation at any given time, sometimes even more!
Note: Professionals continually monitor their rotation and replace reeds much more frequently as needed based on feel and what they hear. However, for young students new to rotation the above process is simple to follow and easy to enforce from a teacher’s perspective. “Everyone using their Monday reed?” “It’s a new month…time to replace those reeds!”
PART THREE: REED STORAGE
Have you ever seen or smelled a reed that has been on a mouthpiece for weeks at a time? It’s truly a disgusting experience*. It’s also extremely unhealthy and terrible for your reed performance. Unfortunately, this practice is all-to-common among students and professionals alike. NEVER leave your reed on the mouthpiece when you’re finished playing. Here’s what we suggest instead for maximum reed hygiene and performance.
- When finished playing, remove and wipe off excess moisture on the reed.
- Carefully store your reed in a quality reed case that allows the reed to completely dry from both sides. This will prevent excessive warping or mold.
- If you notice grime or any damage to the reed, discard and replace with a fresh reed.
None of this is rocket science. It simply takes a little patience and attention from the players and teachers involved to make this a second-nature routine. In the end, you and your students will sound better AND feel better. Everyone wins!
*Bonus hygiene tip: Like reeds, your mouthpiece is a haven for germs if not cared for properly. Learn how to properly clean your mouthpiece here.